A Handmade Mosaic Floor
Handmade Mosaic Floor from Autumn Anglin on Vimeo.
At the beginning of 2017 we began a bathroom remodel in our new cabin home. Since the bathroom was so small, I decided to make if very special by making my own tile. We been hunting for a kiln and found one at a garage sale that worked and came with all the extra parts we needed. After replacing one element and reading the manual, I rolled out my first batch of tiles made from Cherry Creek low fire red clay that I bought at our local art store, Art Department, in downtown Salem.
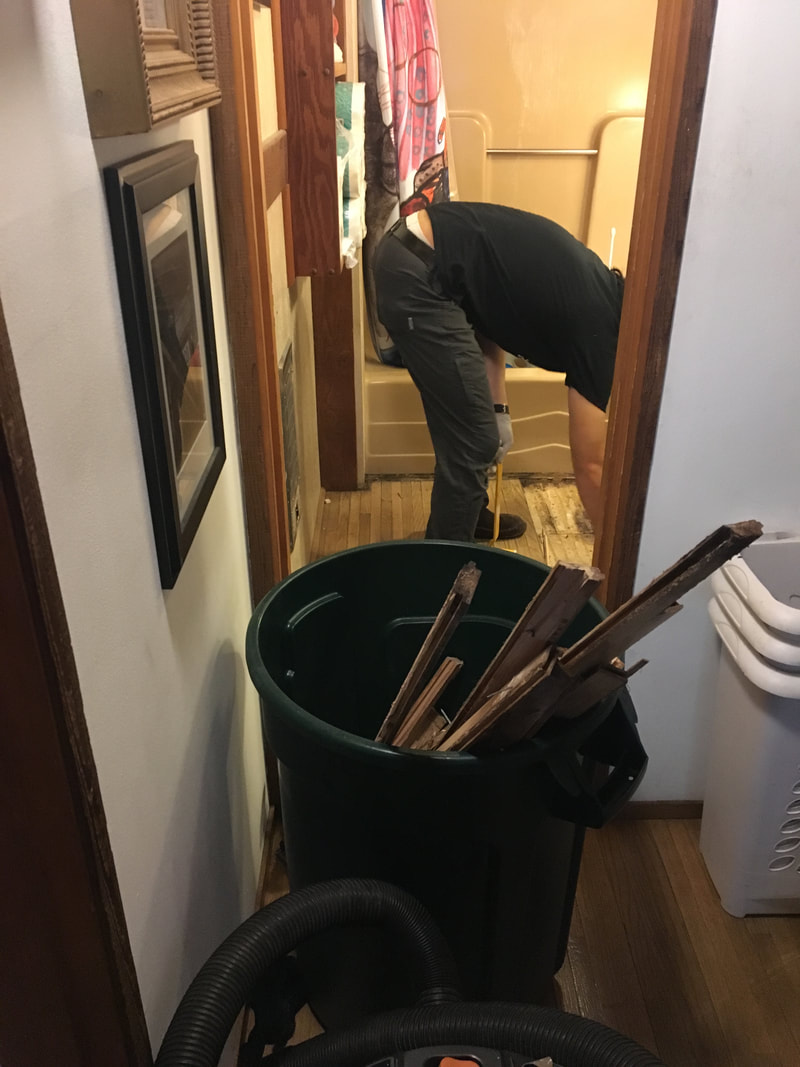
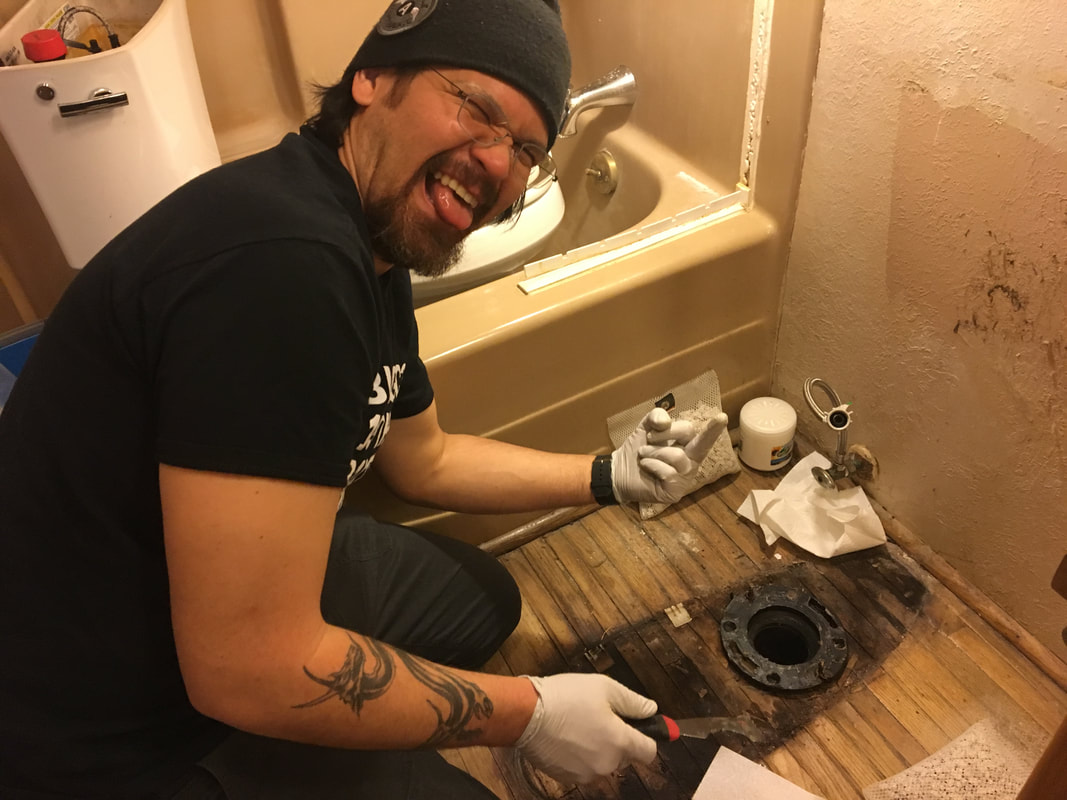
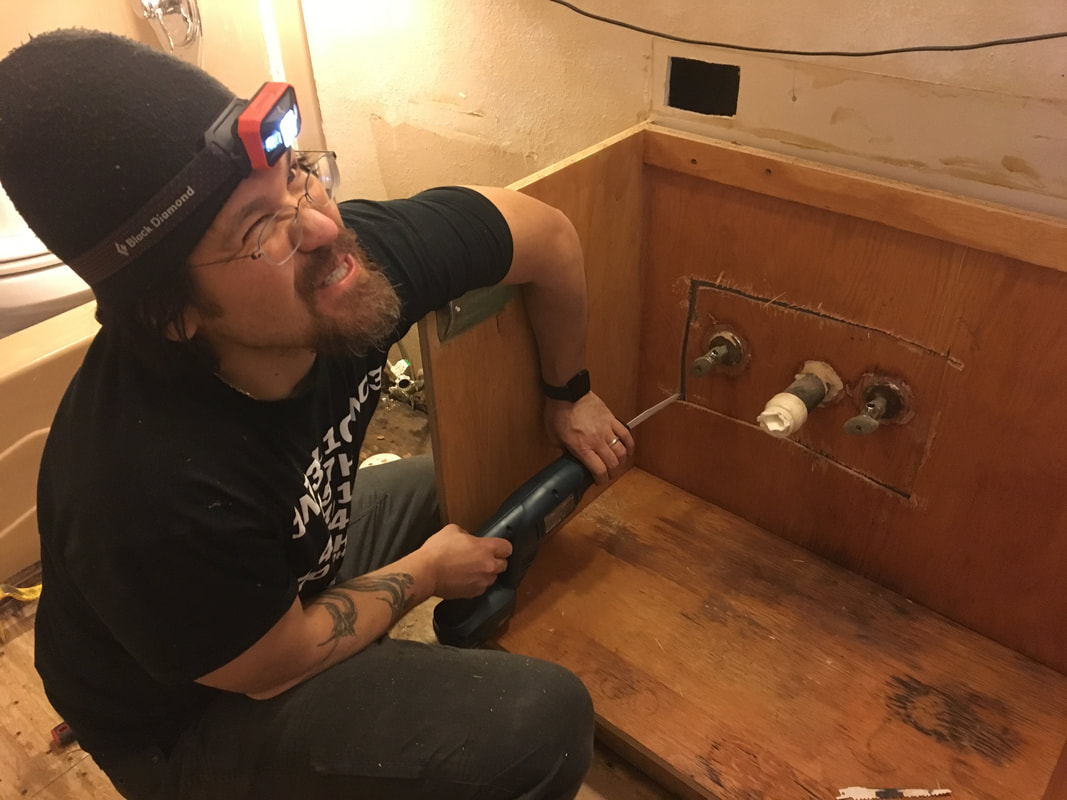
In April, we began the demo by ripping up the oak wood floors that were rotting. That at least got rid of the foul oder in the room while I worked hard for the next five months making the tiles.
My process was pretty simple. I gathered a chunk of clay and rolled it out to 1/2 inch thick. Then I used my plastic template and marked all of the pieces with a needle tool, wrote a number on the plastic, and cut each piece out of the wet clay. The next day I would handle each tile, smoothing the edges with a wet sponge and laying them flat to harden and become bone dry. This drying took about a week. Then I would spend a morning, usually on the weekend when I knew I would be home all day, and load the kiln and run the bisque load. Each bisque firing was done at a cone 04 and took about 5-6 hours to heat up and then another 12 hours to cool off. The next day I would unload the hardened tiles and immediately glaze the tops of them and set the kiln up for the low fire glaze load at cone 06. As soon as it was loaded with the freshly glazed tiles, I would run the kiln again for another 5-6 hours. The following day I would have one batch of finished tiles.
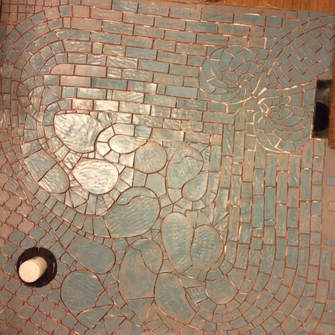
As I made tile, I stored them in boxes in a sort of numerical order so I could assemble the puzzle in the bathroom. As you can see from the video, we started by laying out all the tile upside down so I could see all the numbers. I laid out my template and began assembling the mosaic according to the numbers on the back of each tile. After roughly laying things out in about half the room, I began gluing it down with tile adhesive. Each piece of this mosaic was handled by me a minimum of 8 times.
I finally grouted the mosaic with a custom color I mixed with a $2 bag of sanded grout from the ReStore. I mixed the bag of grout with some acrylic paint and glitter to give it a sparkly look. After grouting came the clean up. I had to wipe and wash each tile individually to get it all clean.
I am proud of this floor and excited that I can live with this functional piece of art.
