|
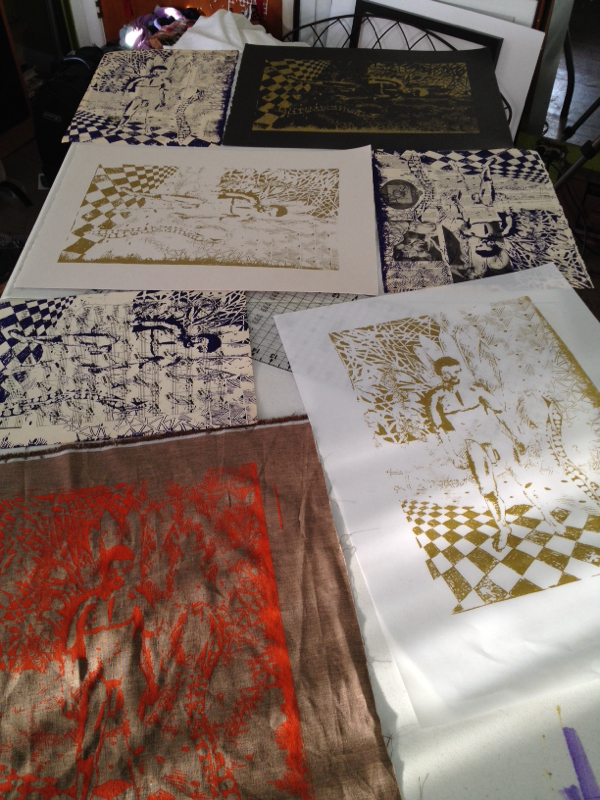
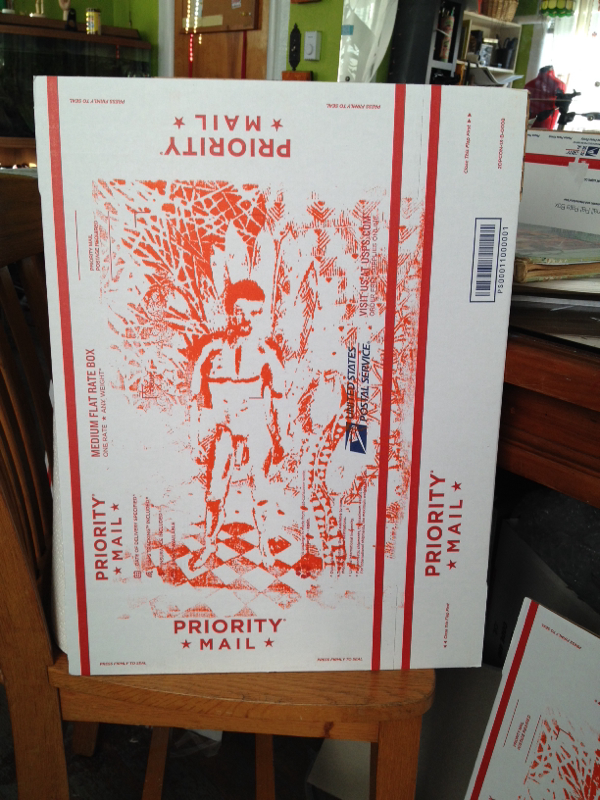
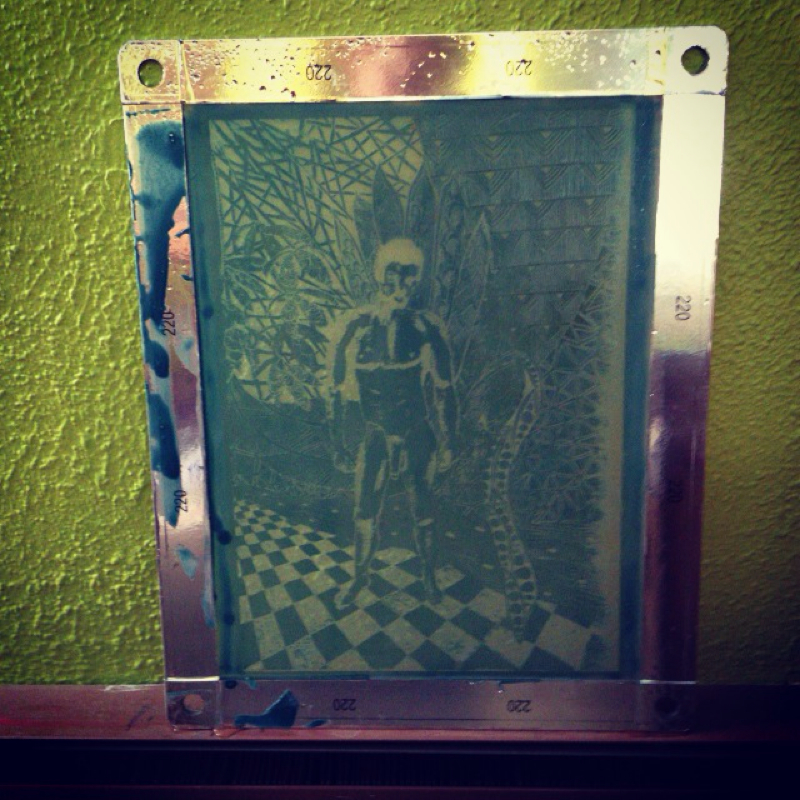
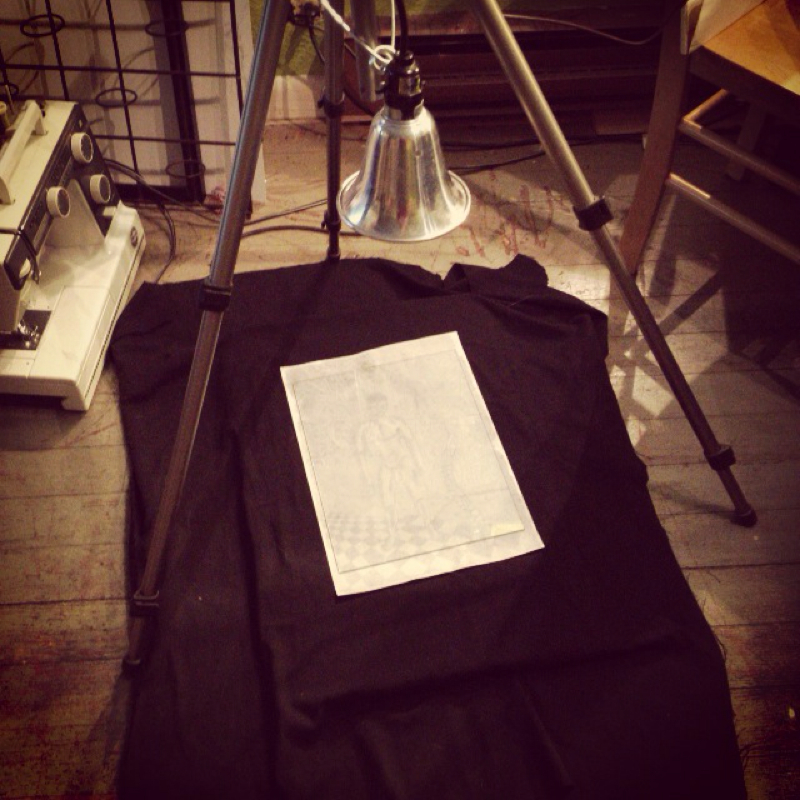
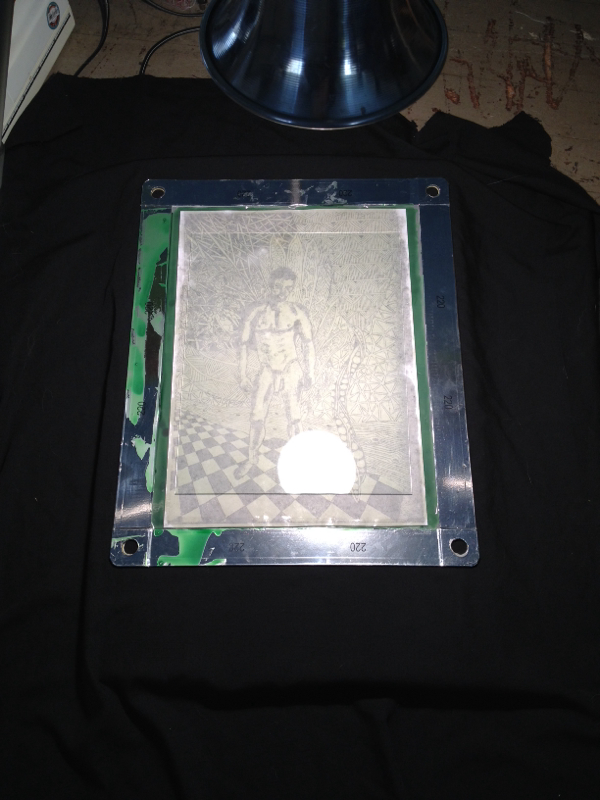
Today I have been screen printing with my new screen. I just made 4 gold prints, 3 purple prints, 4 pieces of fabric in orange. While I was printing the fabric it bled through to the box I had underneath. I think that is pretty cool so I saved the boxes and will be mailing those out to some lucky customer. I am really happy with the steps I took to make my screen. It worked, it was cheap and that makes me happy. My process was pretty simple in case you are interested in trying it. 1) Print image with a copy machine on regular copy paper. 2) Heat a skillet or grittle over a medium heat. Lay one paper towel in the bottom of a pan and lay the print (face down) on top of the paper towel. You are trying to gently heat up the paper. Take a piece of beeswax and rub it over the paper so it melts. Wipe off excess wax with an extra paper towell. Repeat until your entire image is coated in wax. This makes the paper translucent so UV can get through to the emulsion. 3) Prepare your screen with emulsion. Place paper "negative" on the front of your screen, place a piece of clean clear glass on top of that and place in a light box if you have one. I don't have one so I got an old piece of foam, covered it with black fabric and put my screen on that. I attached a light fixture to my camera tripod with an ER2000 exposing bulb. 4) Expose in the direct sunlight or with a UV bulb for 10 minutes. 5) Rinse the screen to reveal the image. I used warm water and my handheld spray shower head. 6) let it dry before you begin printing.
1 Comment
Dana
1/4/2014 07:32:00 am
AWESOME!!!
Reply
Leave a Reply. |
Just Because
I am going to post some of my experiments and thoughts. It can be anything from photography to art to mycology Archives
July 2020
Categories
All
|
- Home
-
Projects
-
Art of Fungi
>
- Amanita Augusta
- Cladonia macilenta
- Clavulina rugosa
- Fomitopsis mounceae
- Complex Geopyxis alpina
- Gyromitra esculenta
- Helvella Maculata
- Hemitomes congestum
- Hydnellum peckii
- Ichmadophila ericetorum
- Kretzschmaria deusta
- Monotropa uniflora
- Morchella
- Phellodon atratus
- Psathyrella longistriata
- Pseudoplectania nigrella
- Pyronema omphalodes
- Russula nigricans group
- Schizophyllum commune
- Tapinella atrotomentosa
- Urnula padeniana
- Xylaria hypoxylon
- Zines
- Art Books
- Artist's Shuffle: My Dichotomy >
- Ceramics
- Creature Series
- Fashion
- Handmade Mosaic Floor
- Horrible Holiday Series
- I Want To Mail You Art
- Library
- Paintings
- Path To Extinction
- Political Art
- Photography
- Published Books
- Steampunk Art
- Videos
-
Art of Fungi
>
- Art Shows
- Graphic Design
- Shop
- Contact
- Etsy Store
- Just Because Blog

 RSS Feed
