
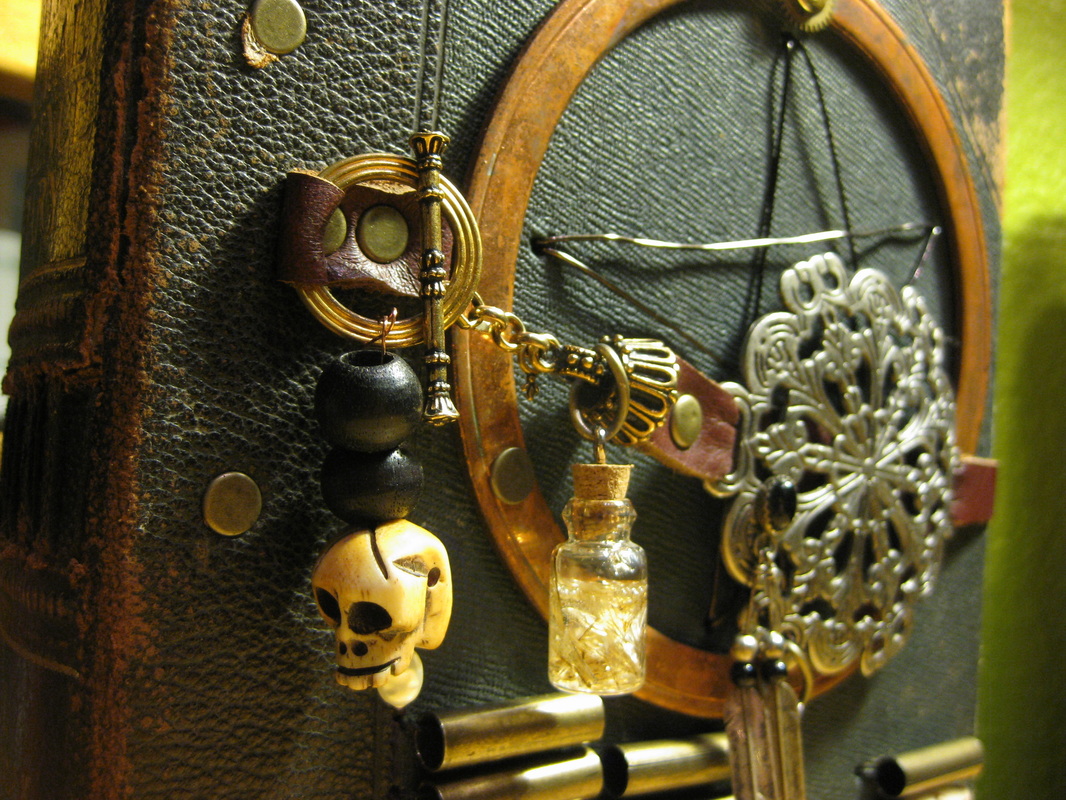
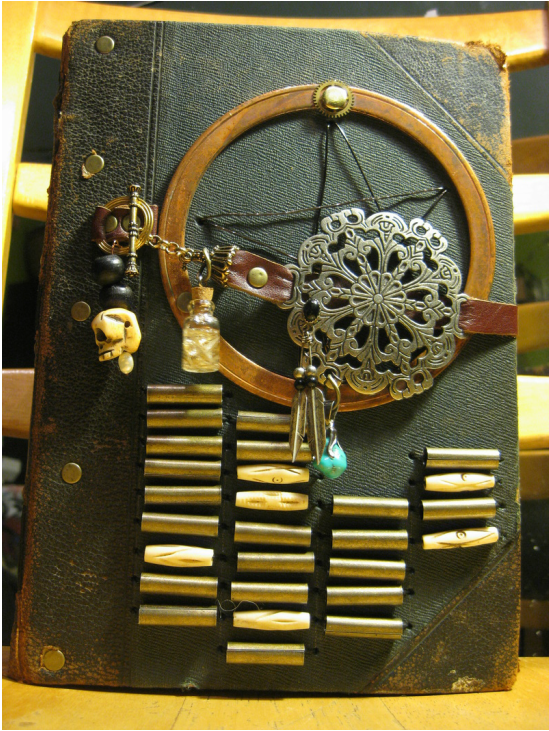
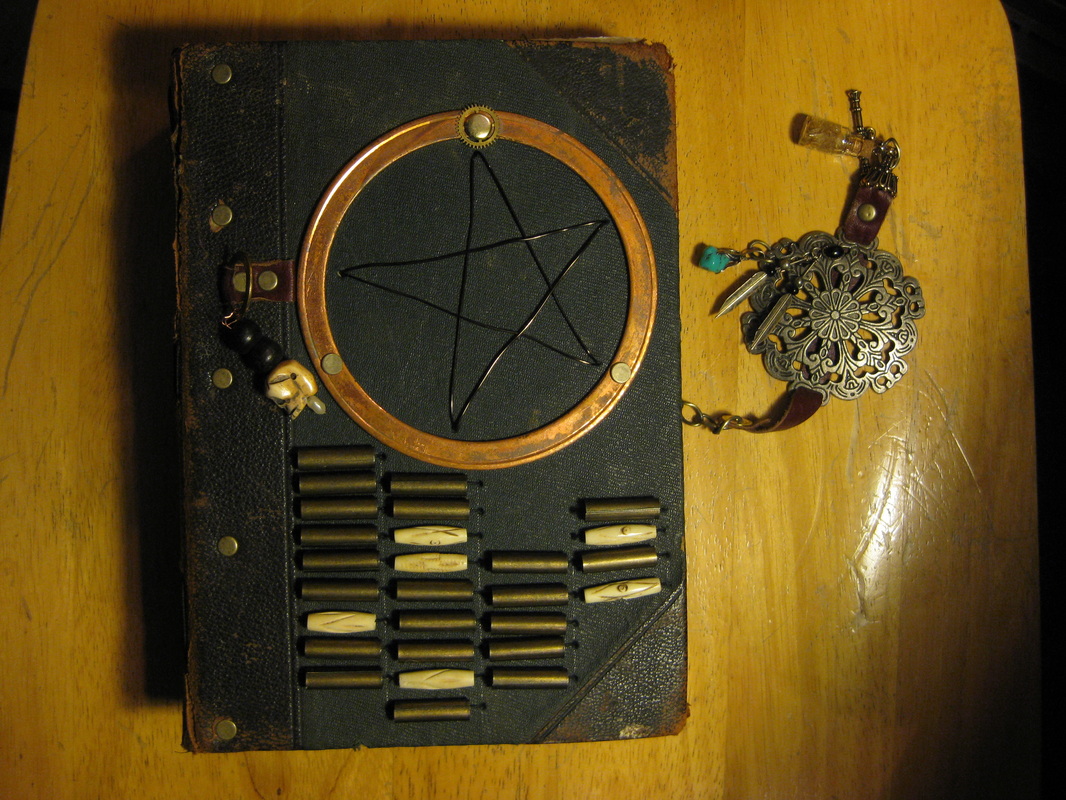
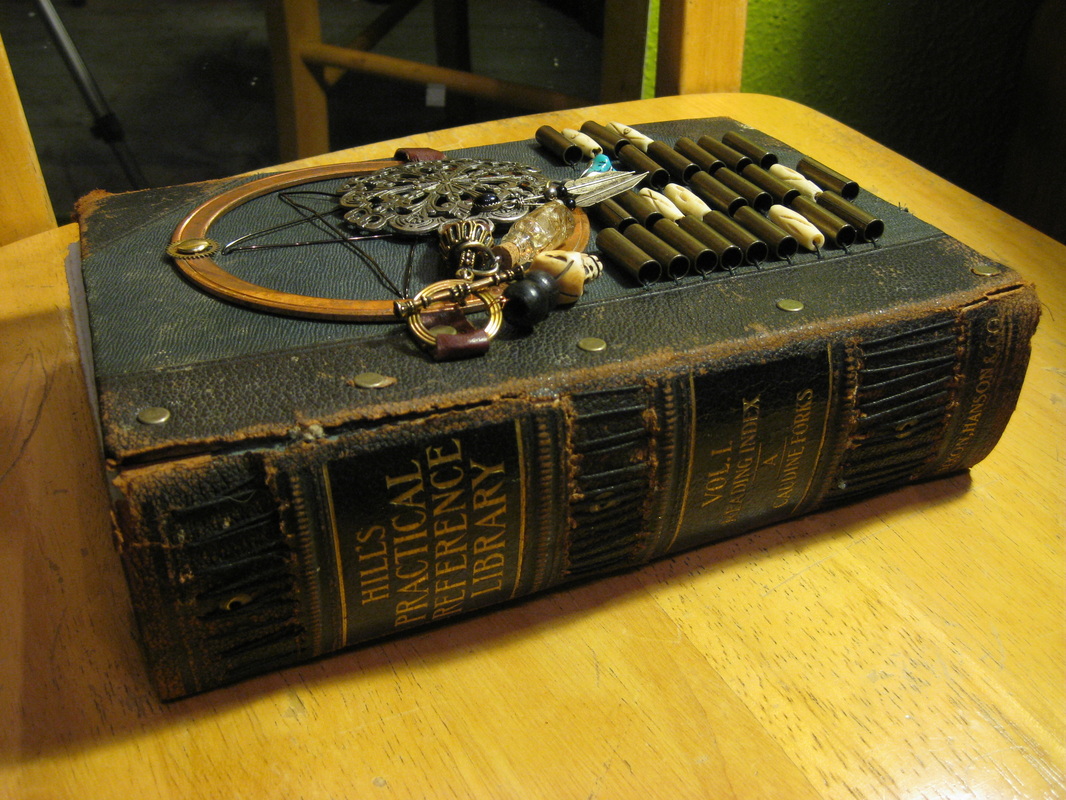
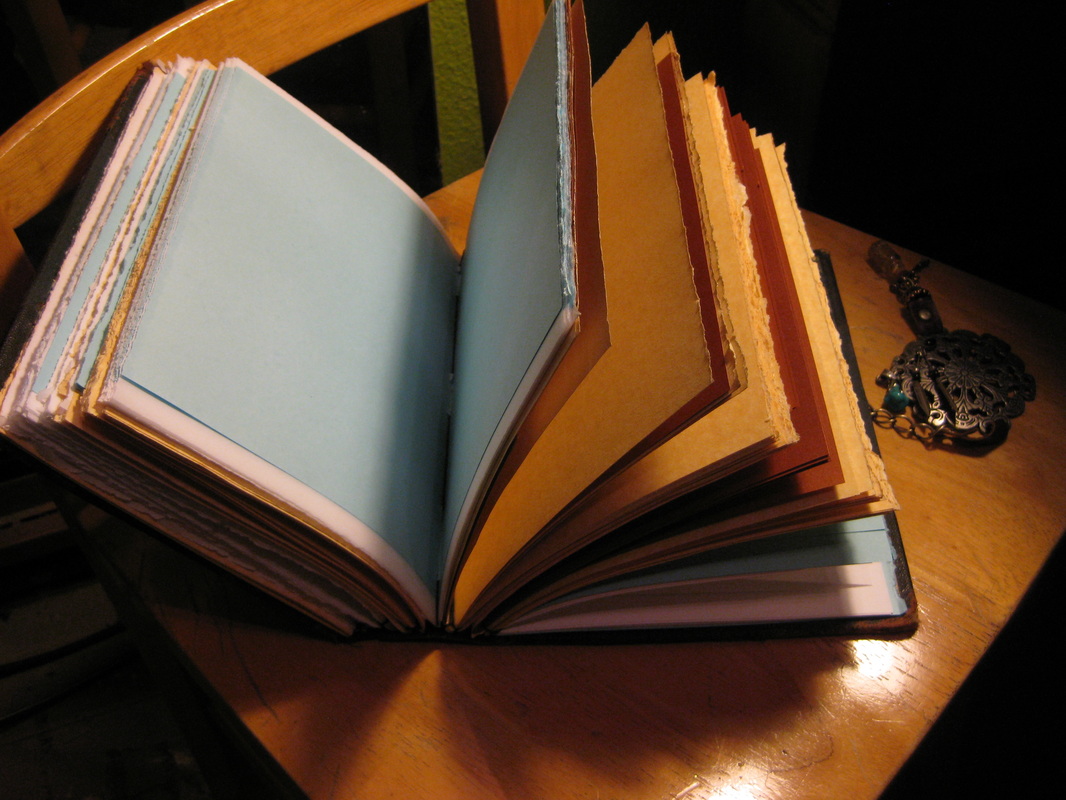
A new journal came to life today. I am really excited about this one. I will officially list it on Etsy tomorrow.
1 Comment
Today I am only giving you a sneak peak at the new painting I made today. I am applying to the Wild Woman Show "Luck Be a Lady" at the River Gallery in Independence, OR with this piece. I am crossing my fingers that they accept me. If I am accepted I will reveal this piece at that show. If I am not accepted then I will reveal it here next week. Wish me luck! "Queen of Clovers" Watercolor and India Ink, 
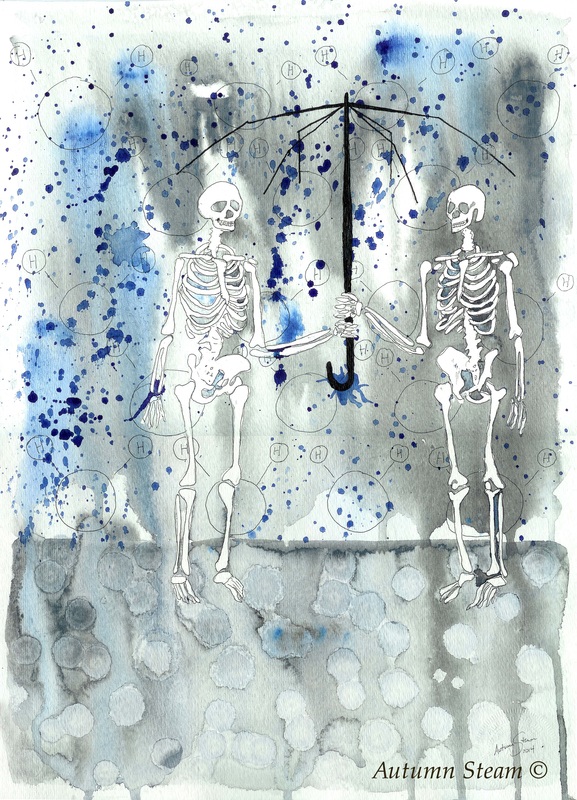
I just realized I never actually "clicked" publish on this blog post for yesterday...oops. This piece was an idea I had last year and had written down in a journal to paint one day. I wanted skeletons holding the frame of an umbrella in the rain that is broken down to it's molecule. "Element" Watercolor, ink and acrylic on archival paper,
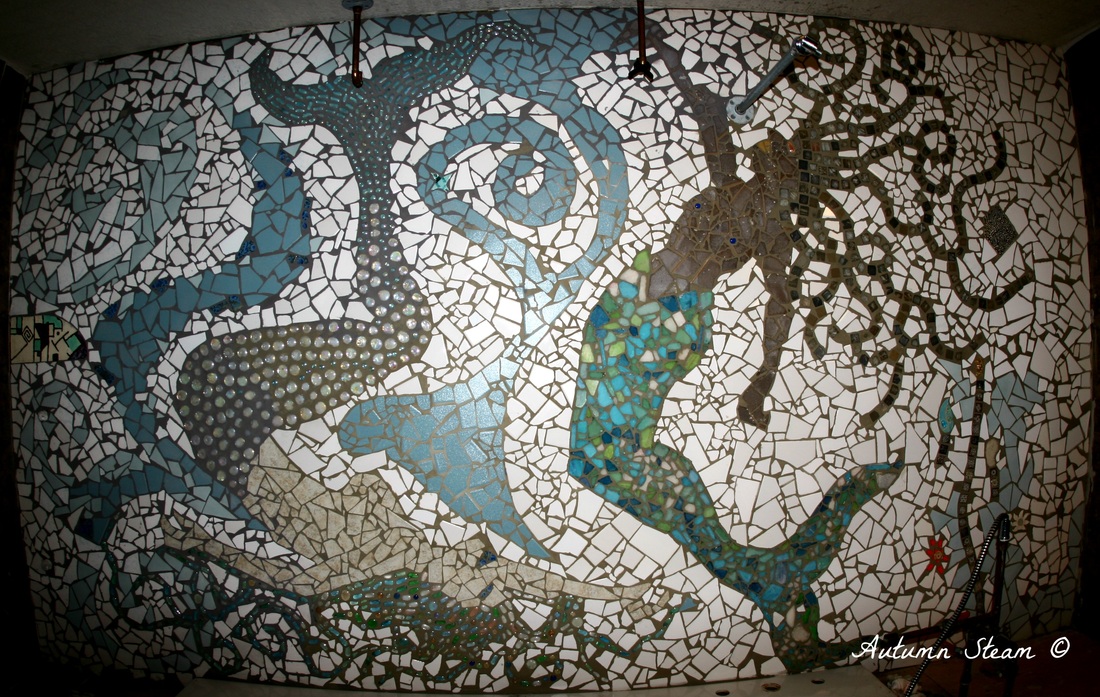
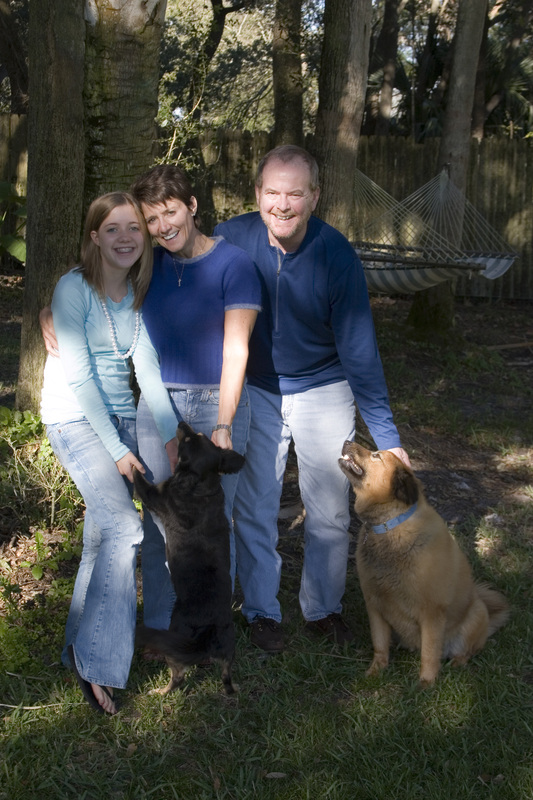
It is finished! It is finished...finished! You know how exciting this is? I started this mosaic 4 years ago. It was supposed to be a quick remodel but then we had kids and life happen, so this remodel has been put on the back burner. Every once in a while, I try and finish it, but I just never could, until now. Last weekend I decided it was time to finish this work in progress once and for all. So I have been working diligently for about 5 hours per day on completing then grouting the mosaic. I am so thrilled with the results and I will take more photos of what the bathroom looks like all put together, once I clean up my mess. (Did I mention grouting is a messy job?) "Mermaid Dual" 6ftx10ft tile, stone, sea glass and handmade tile mosaic, permanently located in my home, 2014. 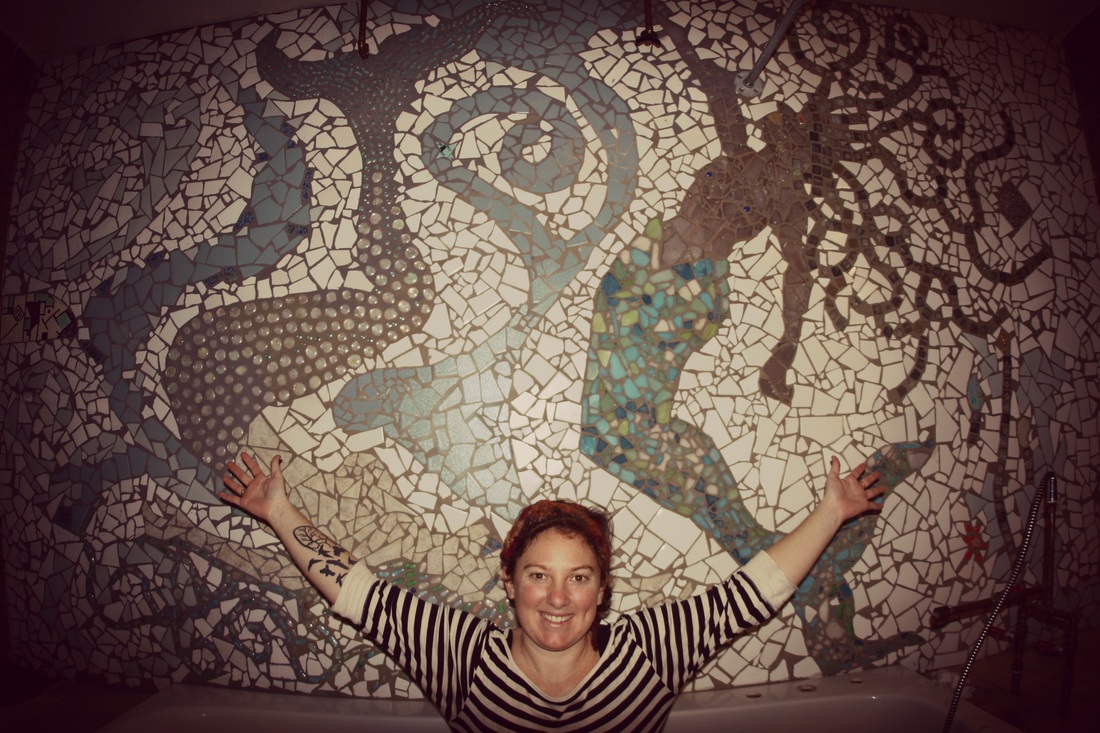
See how happy I am about finishing this large project :)
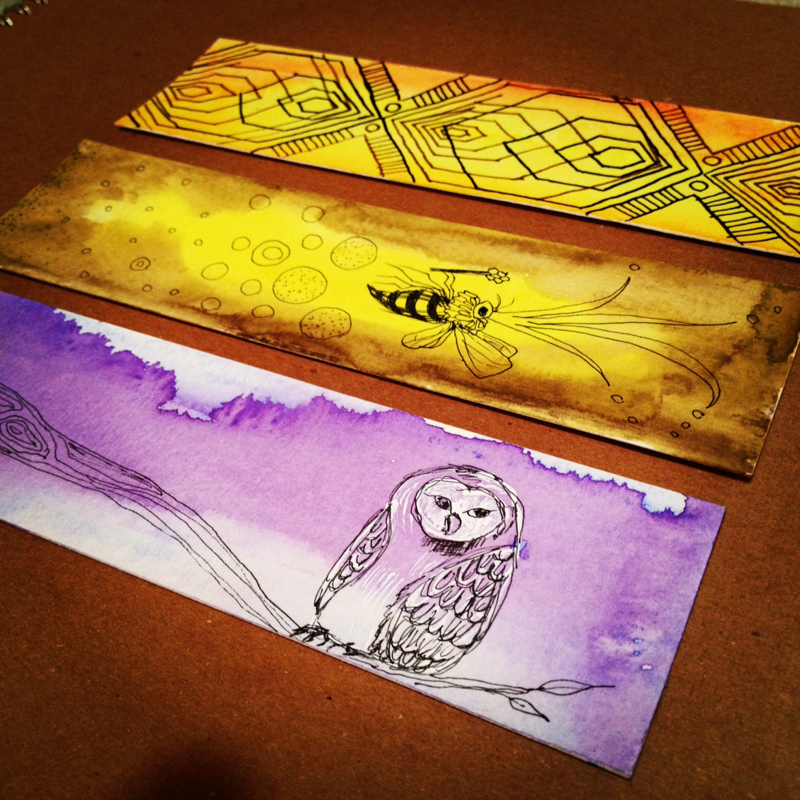 Three little drawings came into exhistence this evening. An owl, a queen bee and some shapes. These were created after a long day of working on a larger art project and dealing with real life affairs.  This mosaic is a sneak peak at one of the things I have been been up to for the past 3 days. I hope to finish and reveal it tomorrow.  Today I drew a very simple drawing about my love for little farms and good food. It was a quick drawing because I am working on a much larger project that is not complete. I hope to be done with it tomorrow. I also learned a new trick in my aerial arts class this evening. That's all for now! 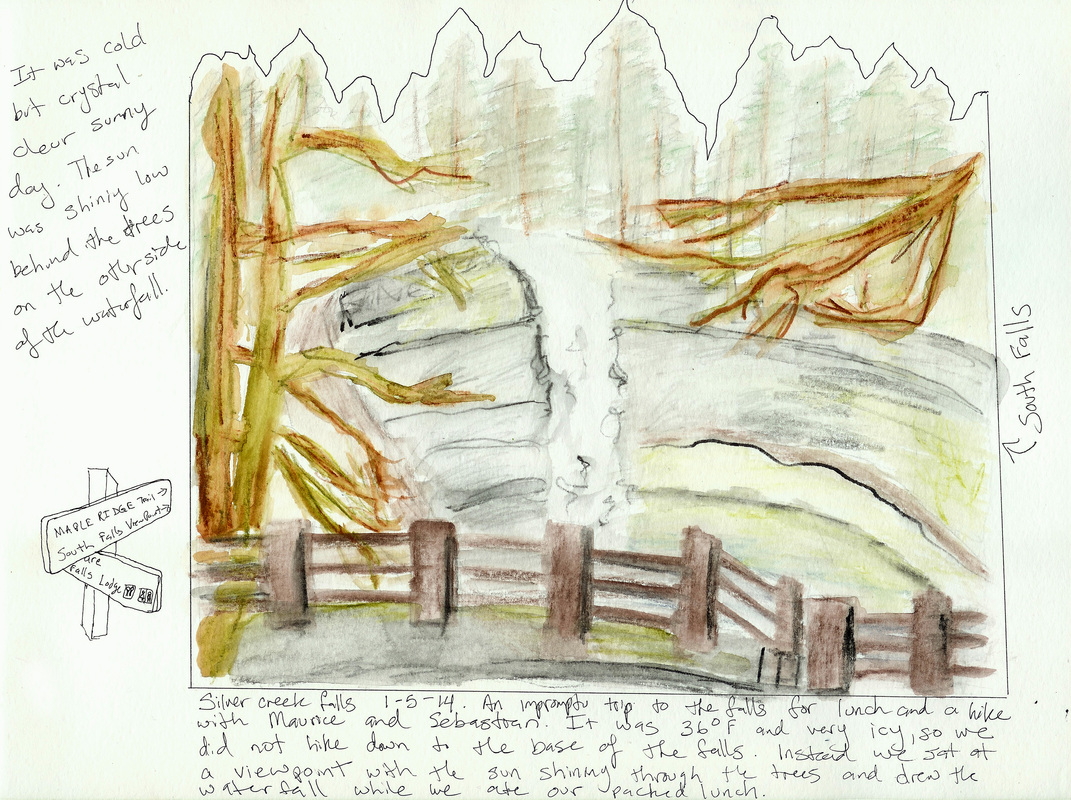  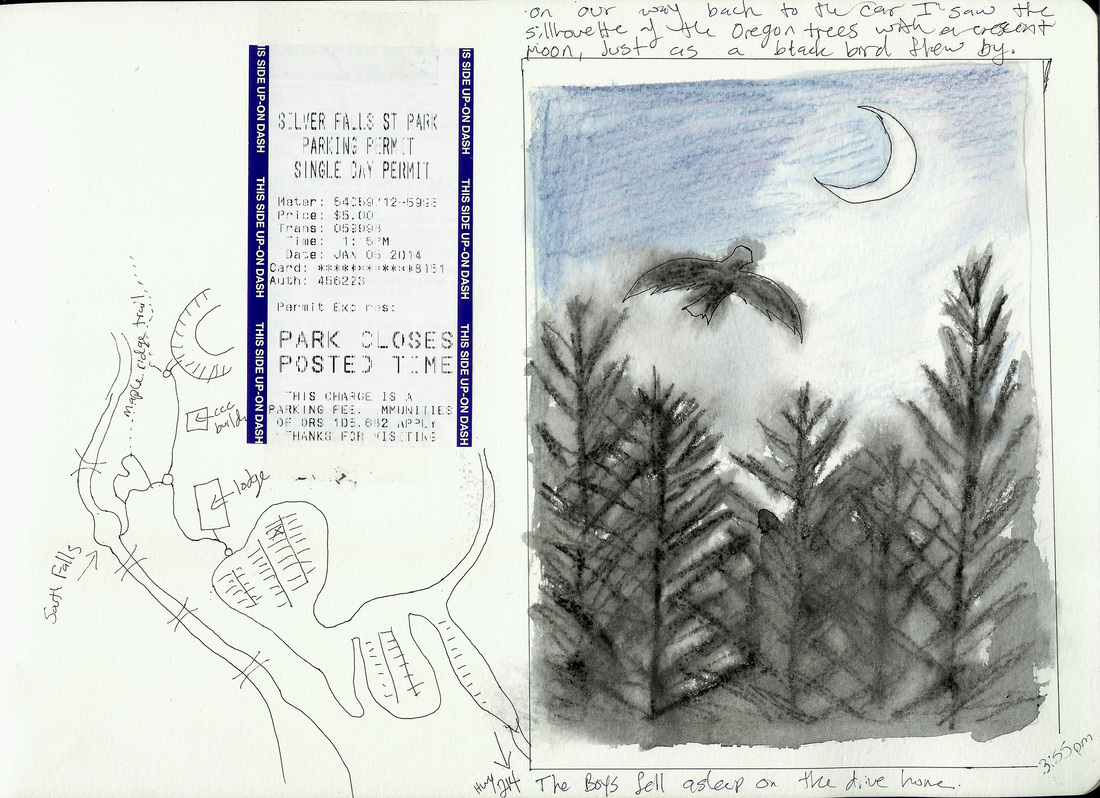 My art for today was created on a hike with my boys at Silver Falls State Park. I wanted to spend the last day of Maurice's winter break totally focused on him. That meant getting out of the house and having some fun and a change of scenery. I packed a lunch and our art supplies and we headed to the falls with the intention of making this an art hike. We did more art-ing than hiking. These are the three pages I did from my sketch book. The boys also drew the falls and a windy path. It was a lovely day with no fighting or screaming. We got to enjoy nature on a cold sunny day and the company of each other. I need to do this more often. 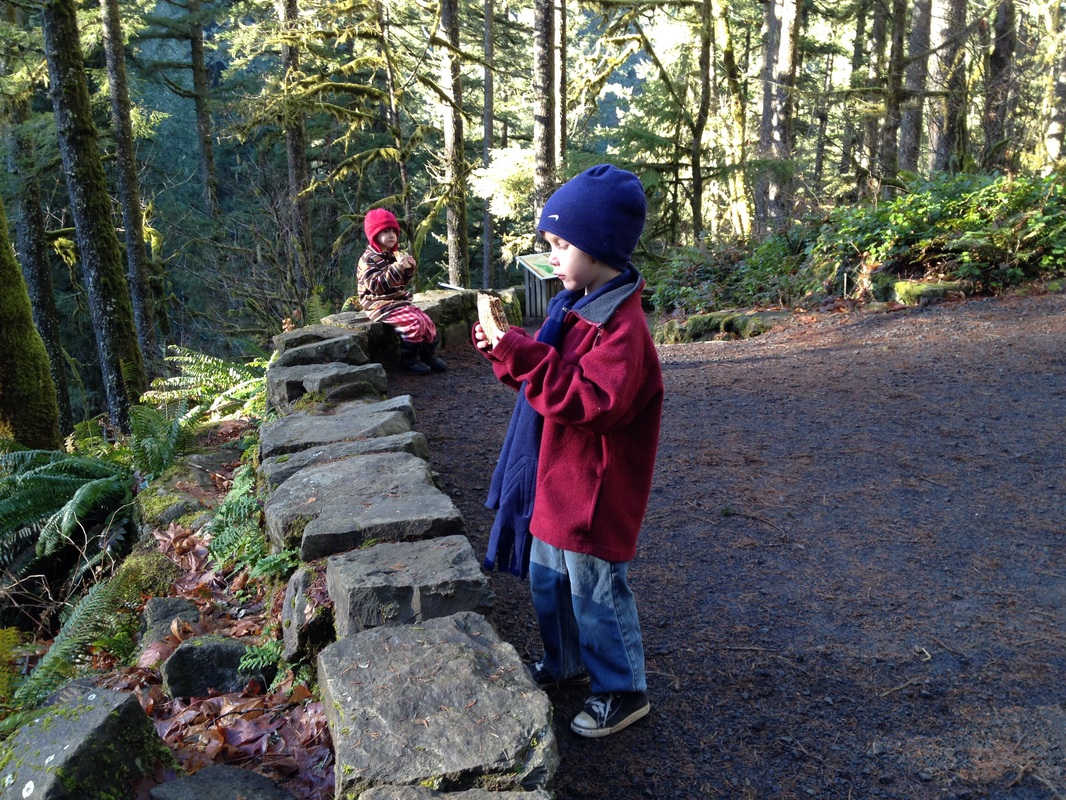 Eating lunch at South Falls in Silver Falls State Park. Our view was waterfalls and sunshine! 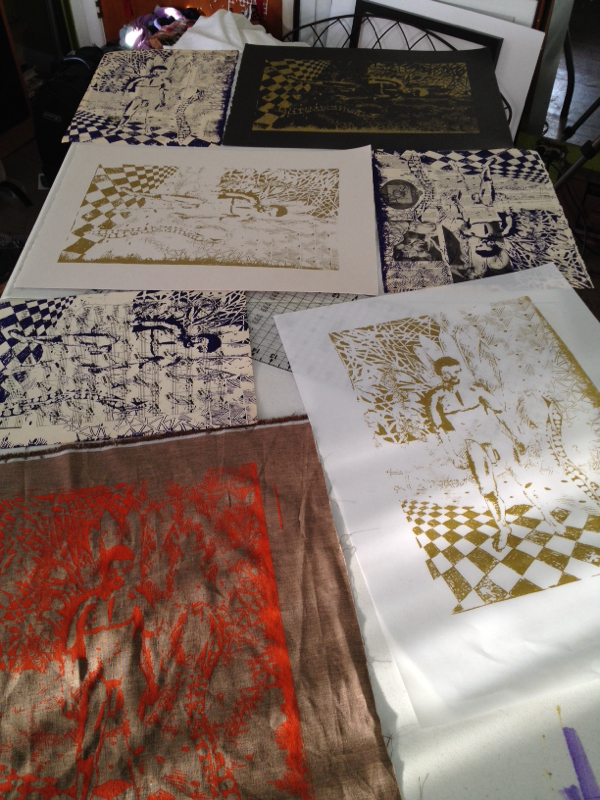 Today I have been screen printing with my new screen. I just made 4 gold prints, 3 purple prints, 4 pieces of fabric in orange. While I was printing the fabric it bled through to the box I had underneath. I think that is pretty cool so I saved the boxes and will be mailing those out to some lucky customer. I am really happy with the steps I took to make my screen. It worked, it was cheap and that makes me happy. 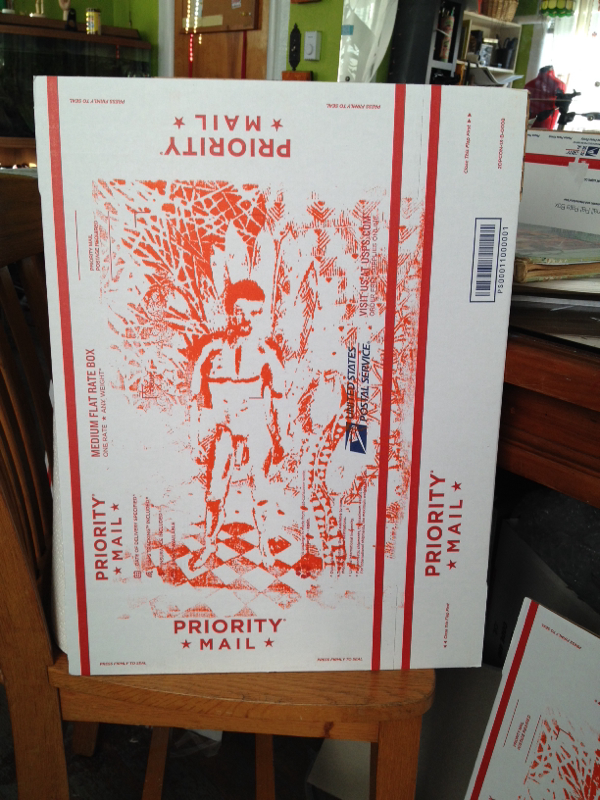 My process was pretty simple in case you are interested in trying it. 1) Print image with a copy machine on regular copy paper. 2) Heat a skillet or grittle over a medium heat. Lay one paper towel in the bottom of a pan and lay the print (face down) on top of the paper towel. You are trying to gently heat up the paper. Take a piece of beeswax and rub it over the paper so it melts. Wipe off excess wax with an extra paper towell. Repeat until your entire image is coated in wax. This makes the paper translucent so UV can get through to the emulsion. 3) Prepare your screen with emulsion. Place paper "negative" on the front of your screen, place a piece of clean clear glass on top of that and place in a light box if you have one. I don't have one so I got an old piece of foam, covered it with black fabric and put my screen on that. I attached a light fixture to my camera tripod with an ER2000 exposing bulb. 4) Expose in the direct sunlight or with a UV bulb for 10 minutes. 5) Rinse the screen to reveal the image. I used warm water and my handheld spray shower head. 6) let it dry before you begin printing. 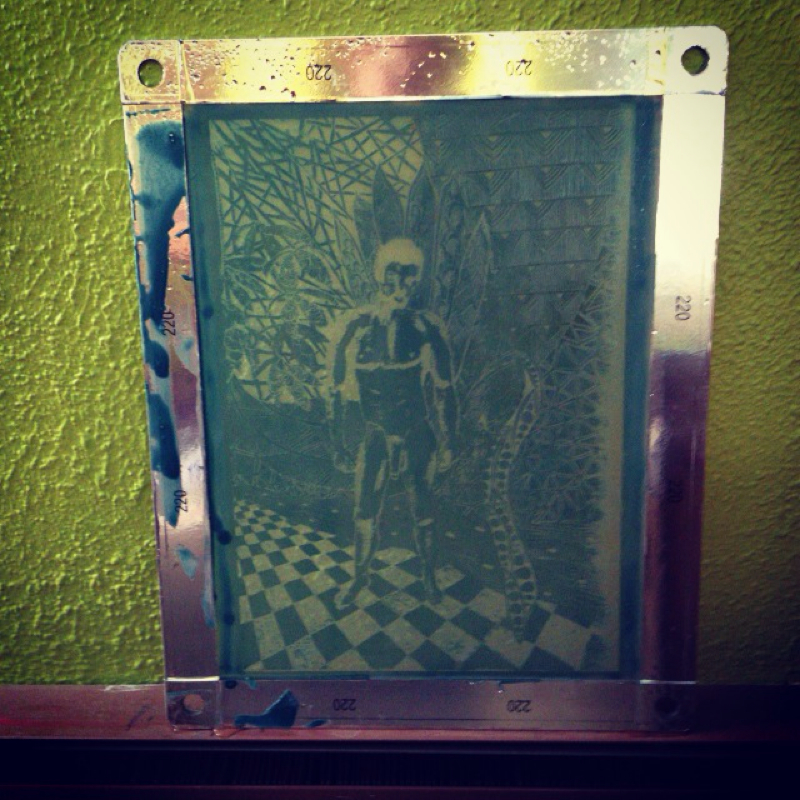 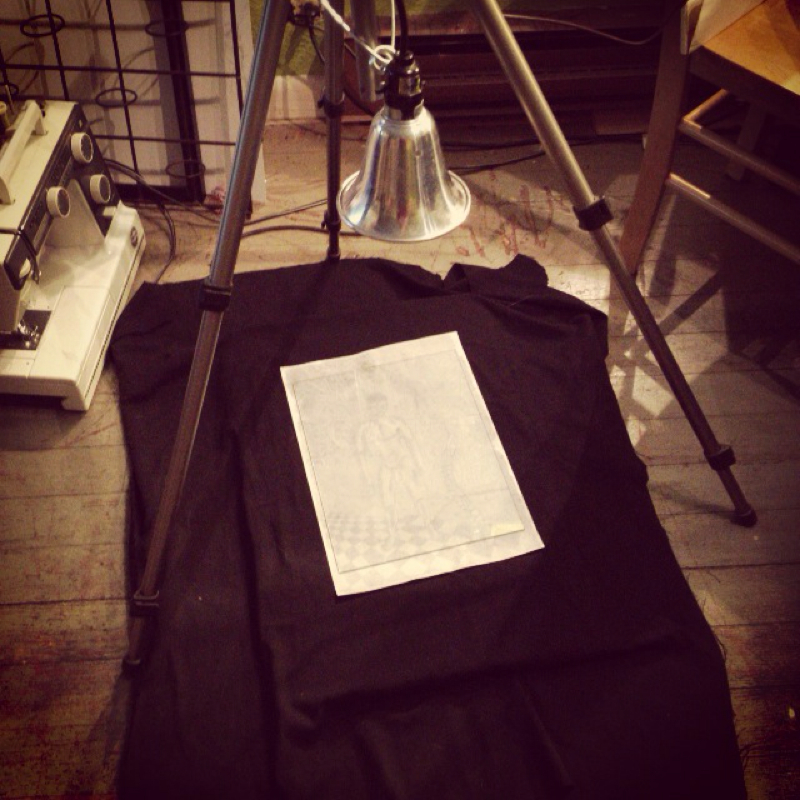 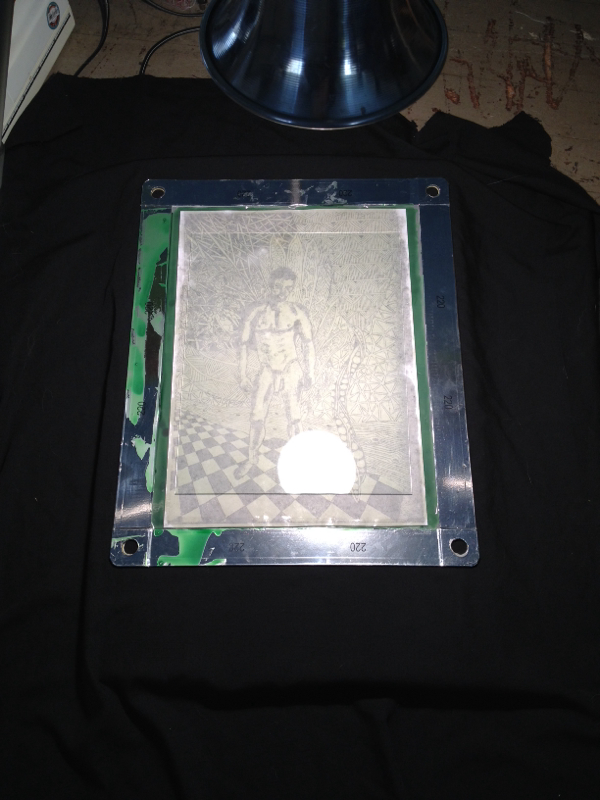 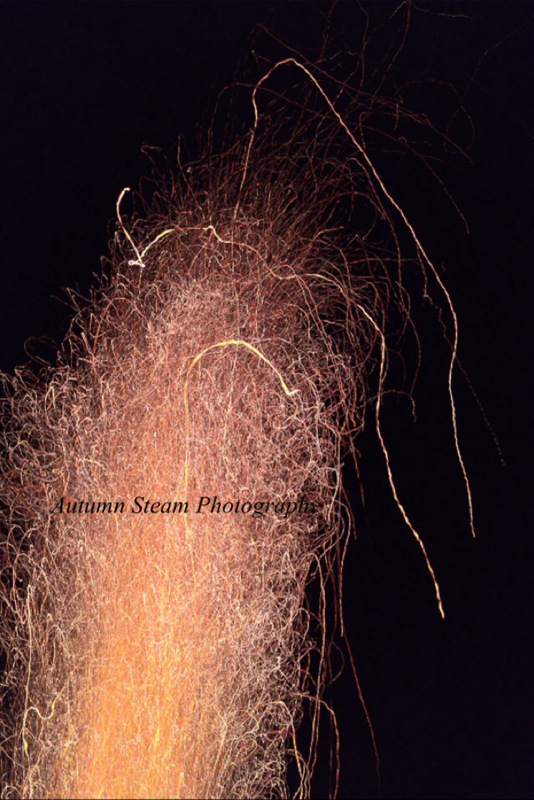 Today I had to do real life stuff but I ended up at a bonfire. So today my art is a photo I took of that bonfire. "Draw of Magic" digital photography, 2014. 
|
Just Because
I am going to post some of my experiments and thoughts. It can be anything from photography to art to mycology Archives
July 2020
Categories
All
|
- Home
-
Projects
-
Art of Fungi
>
- Amanita Augusta
- Cladonia macilenta
- Clavulina rugosa
- Fomitopsis mounceae
- Complex Geopyxis alpina
- Gyromitra esculenta
- Helvella Maculata
- Hemitomes congestum
- Hydnellum peckii
- Ichmadophila ericetorum
- Kretzschmaria deusta
- Monotropa uniflora
- Morchella
- Phellodon atratus
- Psathyrella longistriata
- Pseudoplectania nigrella
- Pyronema omphalodes
- Russula nigricans group
- Schizophyllum commune
- Tapinella atrotomentosa
- Urnula padeniana
- Xylaria hypoxylon
- Zines
- Art Books
- Artist's Shuffle: My Dichotomy >
- Ceramics
- Creature Series
- Fashion
- Handmade Mosaic Floor
- Horrible Holiday Series
- I Want To Mail You Art
- Library
- Paintings
- Path To Extinction
- Political Art
- Photography
- Published Books
- Steampunk Art
- Videos
-
Art of Fungi
>
- Art Shows
- Graphic Design
- Shop
- Contact
- Etsy Store
- Just Because Blog
 RSS Feed
